Marvelous Marking Gauges
One of the most simple and essential tools for woodworking is the marking gauge. For instance, If you have some butt hinges to let in you'll need two, one for the hinge leaf one for the thickness. Need to gauge the thickness of a board? This is your tool. Traditional woodworking doesn’t work without gauges. I don't mess about with resetting gauges on a job, it's good to have a few, set them for a task and leave them that way until you’re done.
To my mind a marking gauge has one job, to mark with the grain, not across it. If you attempt to mark across you'll leave a nasty scratch, there are other gauges for that purpose. Think about the term “gauges” like “chisels”. I don't use a paring chisel to cut a mortice in the same way I don’t use a marking gauge to mark across the grain.
For me, nothing beats the traditional wooden gauge with a conical pin. Proven over hundreds of years of use by professional and amateur alike, they can be still bought new for £10 new by quality brands like Joseph Marples (I would opt for the one with the brass screw), £8 from eBay for 4 used (checked today) or you can make your own.
These days you have options. I wasn't aware of the gauges that are made with engineers skills and perspective when I started work. That style of gauge is an all metal construction and have a sharp disc of metal affixed to the ends of the stem. They've been around for a while, Stanley's No.90 is an early example.
I would consider using one of these gauges for marking across the grain, the reason being is the way they mark in largely the same as a cutting gauge. Although I will at times use a cutting gauge with the grain, I don't unless I have to. The problem with a cut line made with the grain is that on many timbers, the line simply closes up and can't be seen. And for me I couldn't justify the cost. I never dispute that quality costs, and the best of these gauges cost £110 which is a very fair ask for the amount of work that’s gone into it, but for my situation my £2 second hand marking gauge does the job I want without compromise.
Some people find it tricky to use a pin marking gauge. The main complaint is normally the pin follows the grain. I sympathise, when I was new to this many moons ago, I had that problem. Thankfully it goes away once you know how to use one. I can only share how I use them, perhaps it might help. Like any gauge there's a bit of duality. You have to hold it firmly but not with white knuckle force. My hand holds the head against the work and my thumb is the focus for pushing it forwards. Never force the pin into the work, let it lightly trail as you push it away from you. You can always repeat the pass rather than doing it all at once. Lastly, I like to press the pin in at the finish point of the gauge run (if there is a finish point). This way the trailing pin drops into the hole with no overrun. Just a little bit of practice should have you set.
And if you're in any doubt about how effective a pin gauge is, consider how many tens of thousands have been made, used by how many tens of thousands of woodworkers making how many tens of thousands of pieces of actual work. It's hard to argue with facts like that.
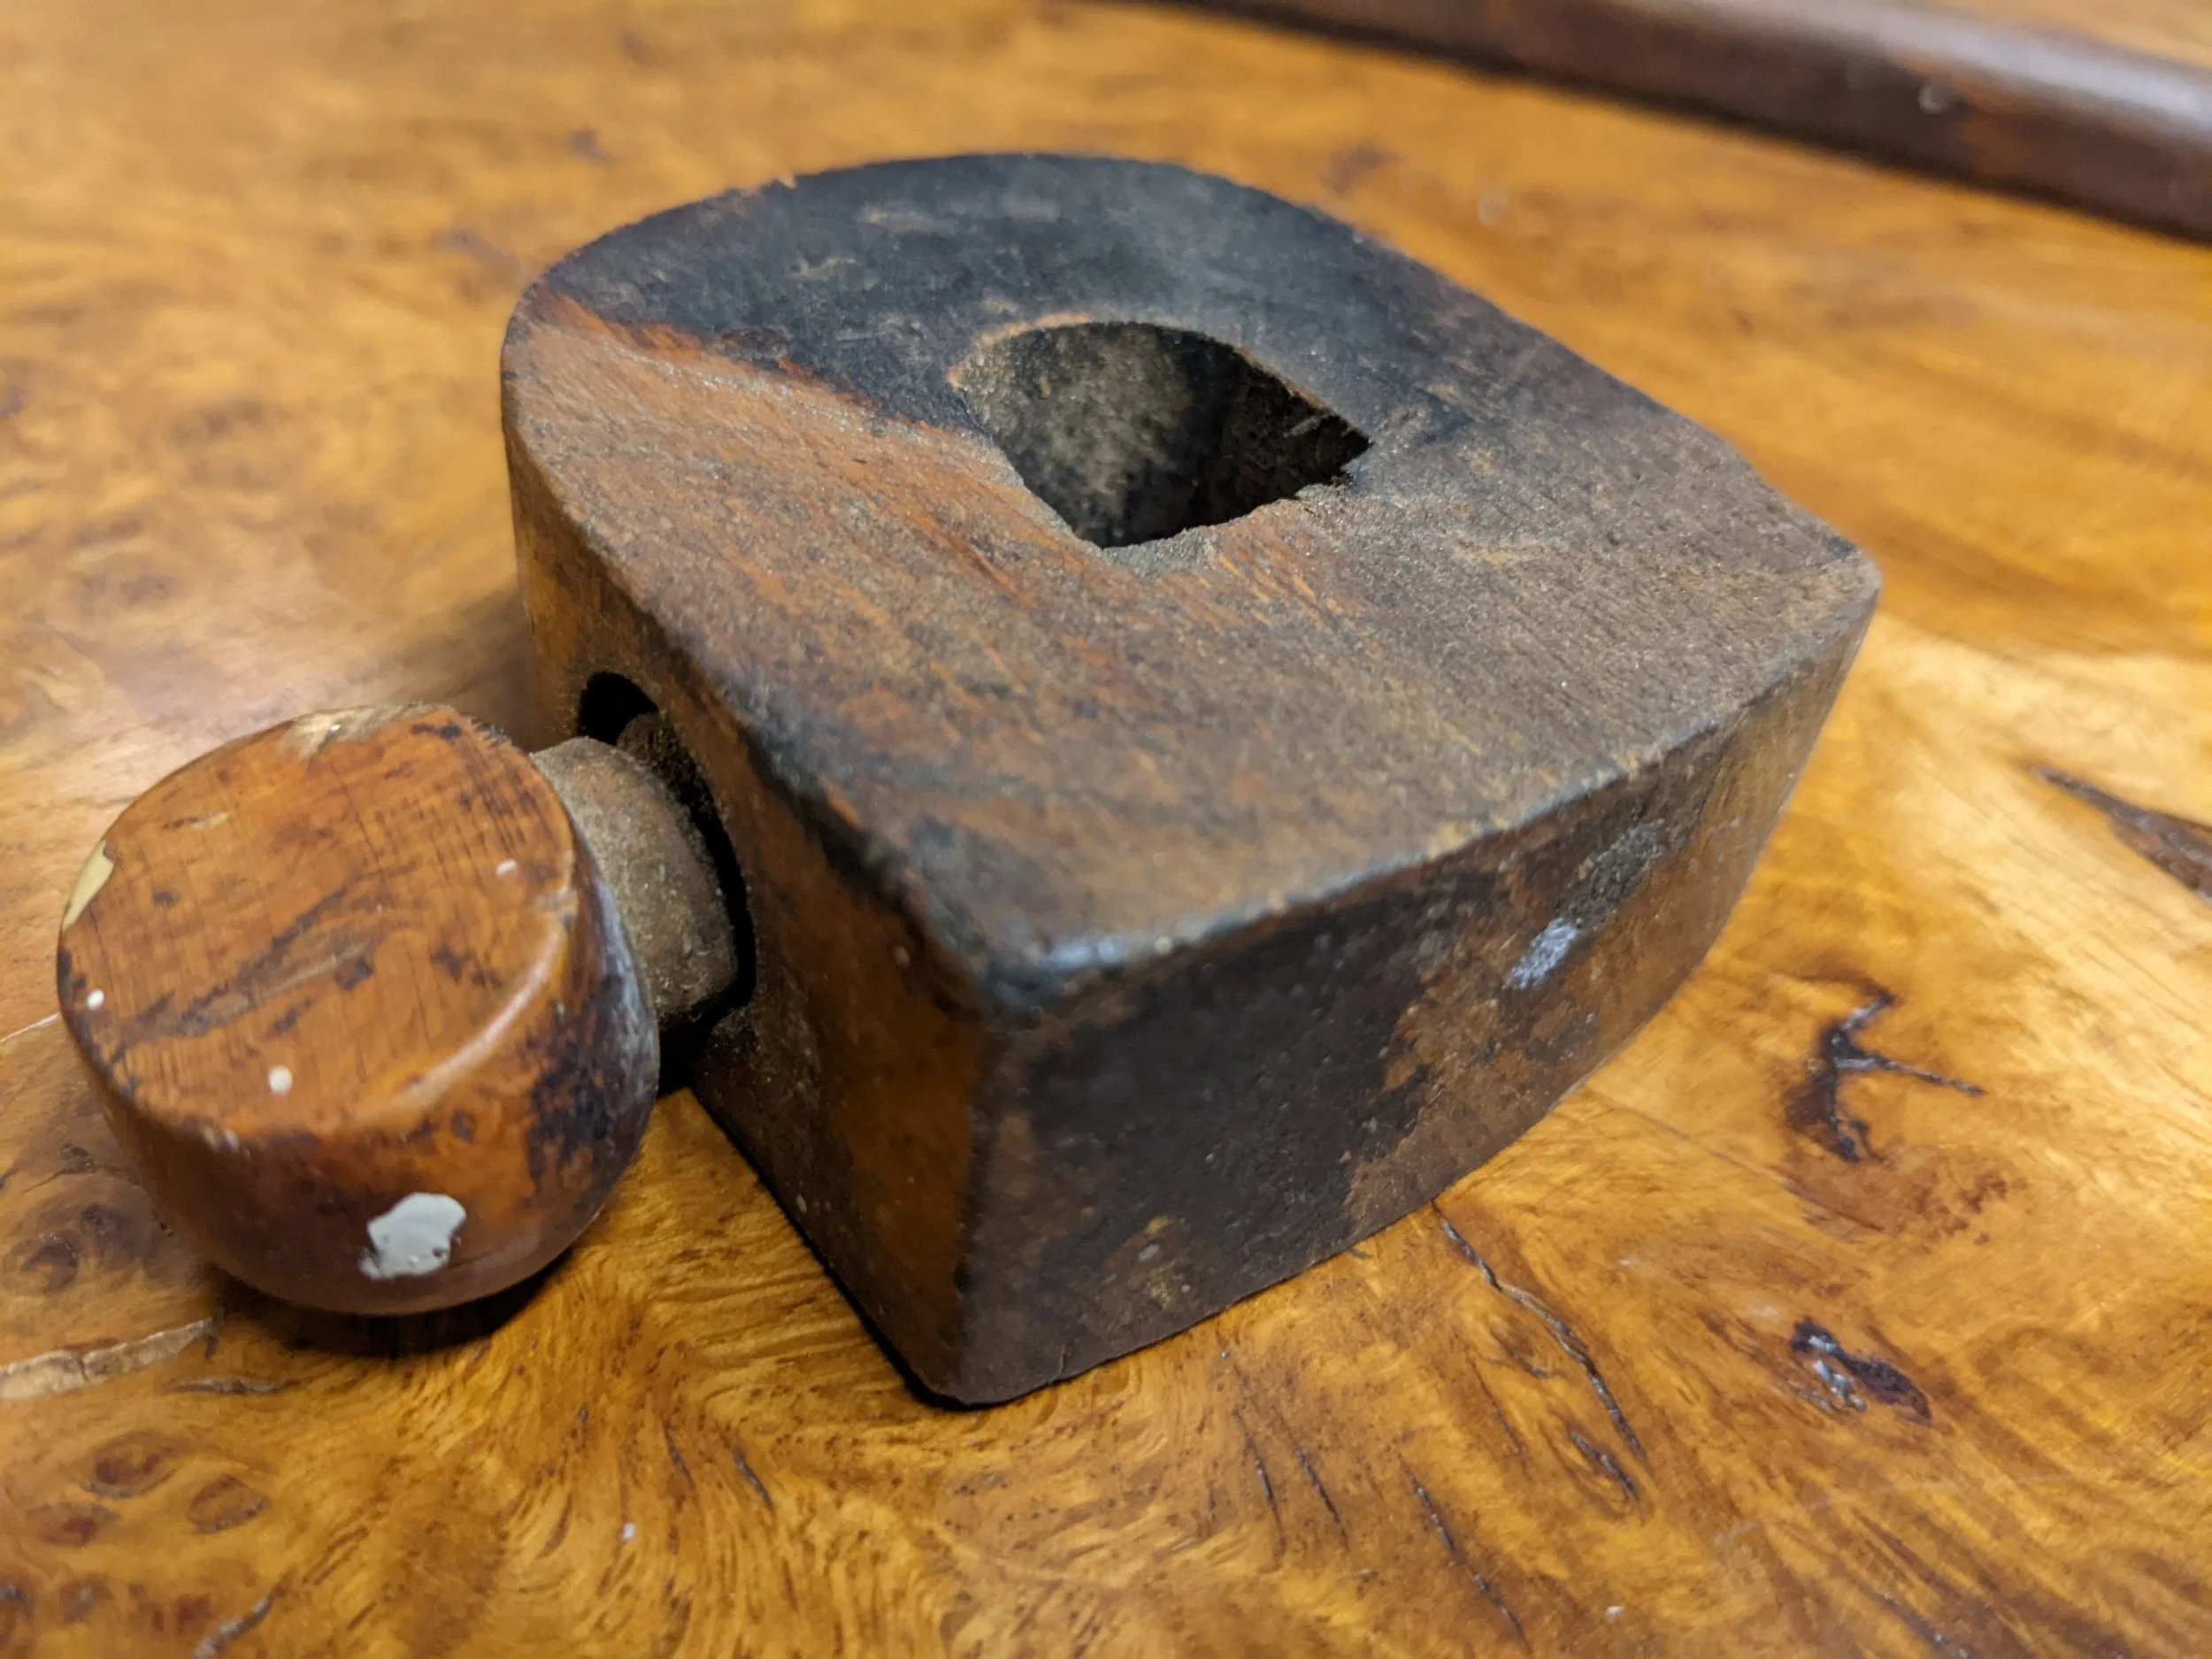
I recently picked up a few gauges, simply because I found them attractive. When they arrived I was delighted to see the were very well used. So much so they are the only gauges I've seen that are close to being worn out. The stems are so worn that it's clear the user was pushing the gauge away from themselves in the traditional way. I was also impressed to see the gauge in the photo had been so heavily used that W.J.MEREDITH had taken of the head and turned it over to use the other side. Truly, the mind boggles at the amount of work this gauge has done. A mortice gauge belonging to W.J.MEREDITH was with it as well, that too was very worn and I’ll share that at another time.


